
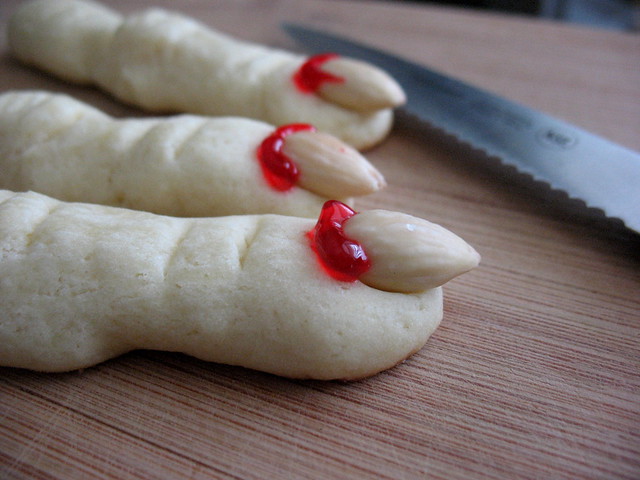
How better to celebrate a holiday than make some appropriately spooky cookies? Not only do these cookies taste good, they also look a little eerie. You can skip the red decorating gel if you don't want the ick factor for little ones, but it might be fun to add a little green food coloring gel to the dough to make it look even more 'witchy'. Try making some eyeballs as well for a little variety and watch them disappear before your eyes!
Adapted from Martha Stewart
2 large eggs (1 of them needs to be separated)
1/4 teaspoon pure vanilla extract
8 tablespoons butter, softened
1/2 cup icing sugar
5 tablespoons white sugar
Pinch of salt
1 2/3 cups all-purpose flour
Cream together the butter, icing sugar, and white sugar in a large bowl. Add 1 whole egg and 1 egg yolk, along with vanilla, and beat well. In a separate bowl whisk the flour and salt together, then add to the butter mixture and beat just until combined. Turn out onto lightly floured counter and roll into a ball shape; wrap in plastic wrap and allow to chill for about 1 hour.
Brush fingers with reserved egg whites and gently press in almond "nails".
Bake approximately 10 minutes at 350. When cooled, add the bloody bits with red cake decorating gel.
Variation: Eye balls....


Roll dough into small balls, set on cookie sheet and lightly flatten by pressing down on them with the palm of your hand. Press a green or blue smartie (M & M) into the center. Bake for 10 minutes at 350. When the cookies are cooled, add red outlines with cake decorating gel. To make pupils, melt a small amount of chocolate and using a toothpick or skewer, form a dot in the center of the smartie iris.
